Add a custom fontUpdated 3 months ago
Important note: Any adjustments you make in the code of a theme will be lost when updating. So if you use a custom font you will need to repeat these steps whenever you update your theme.
Adding a custom font to the theme requires some minor code modifications.
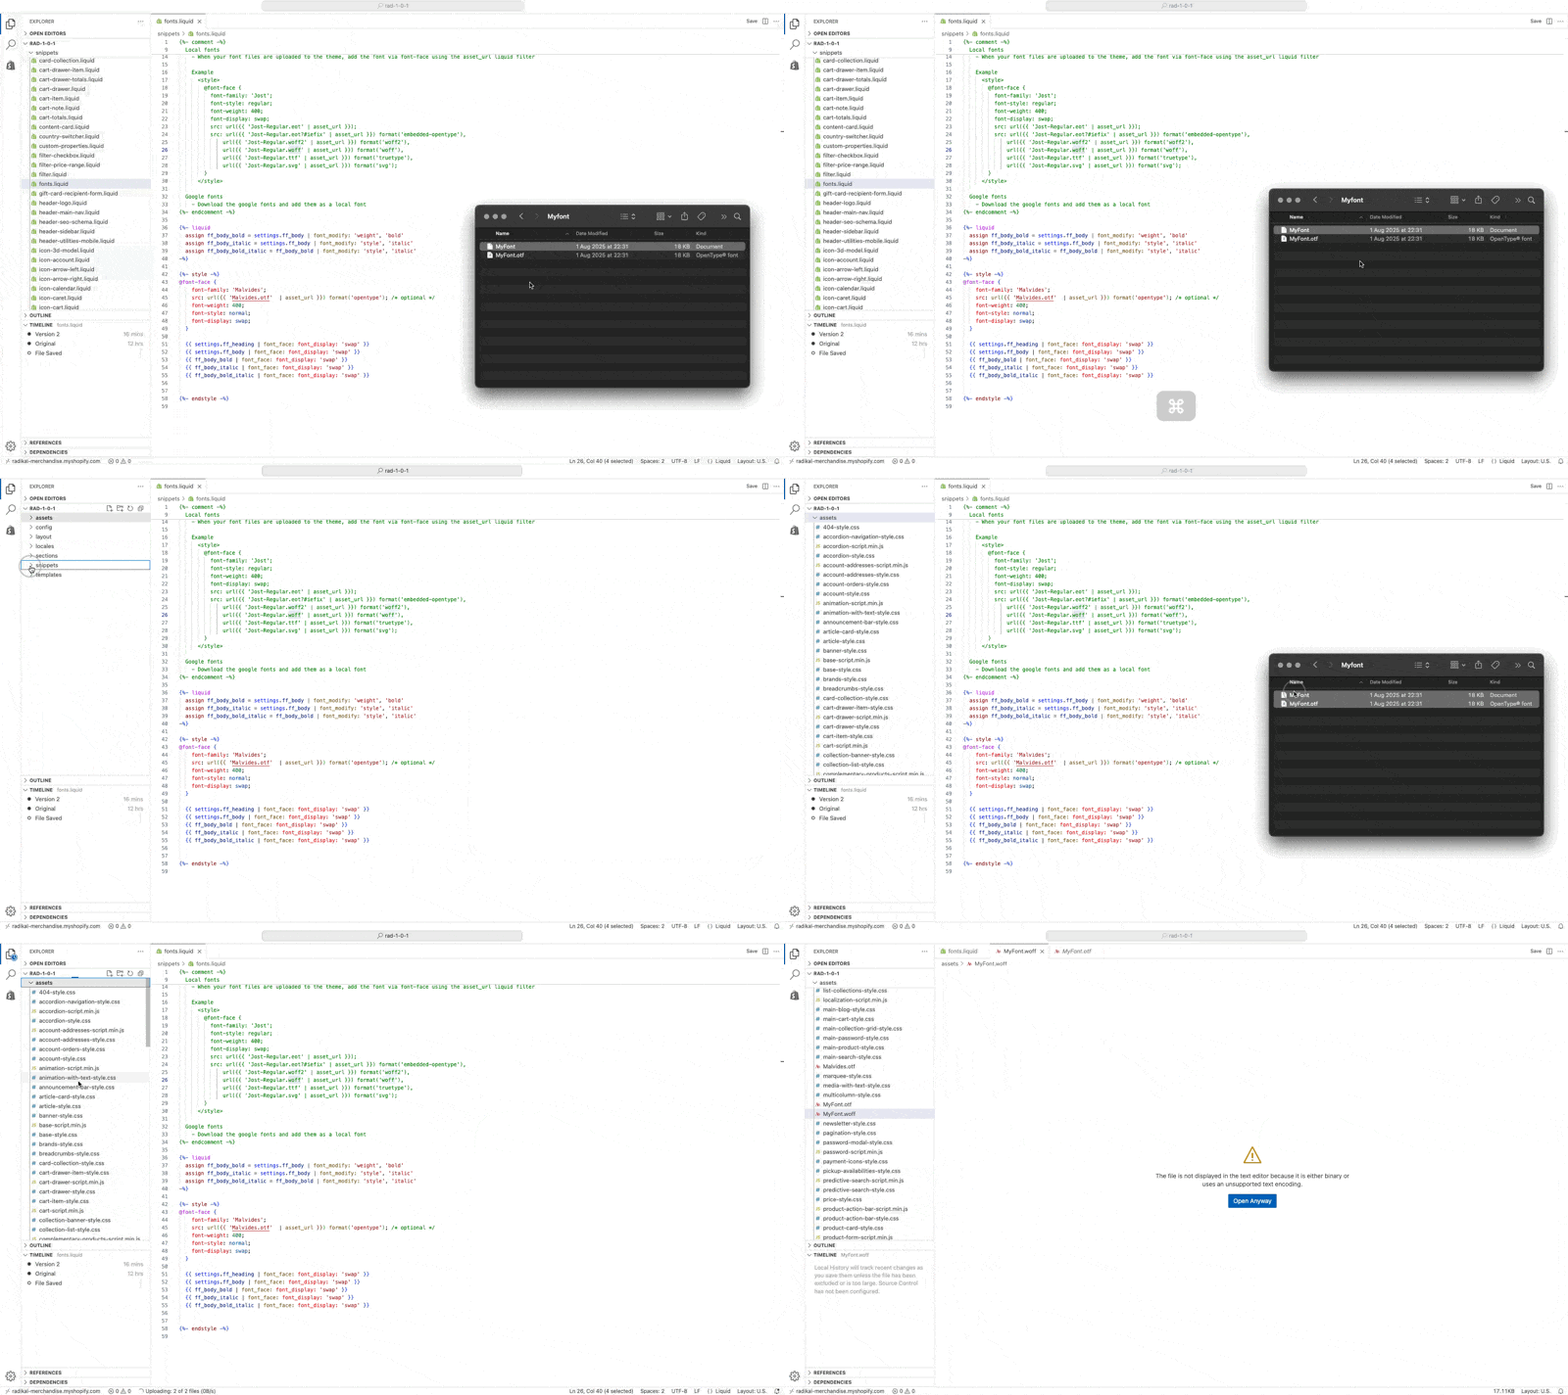
Step 1: Go to the code editor
Online Store > Themes > ... Next to the Customize button > Edit Code

Step 2: Upload your font in the assets folder
Drag your .oft and .woff file into the assets folder.

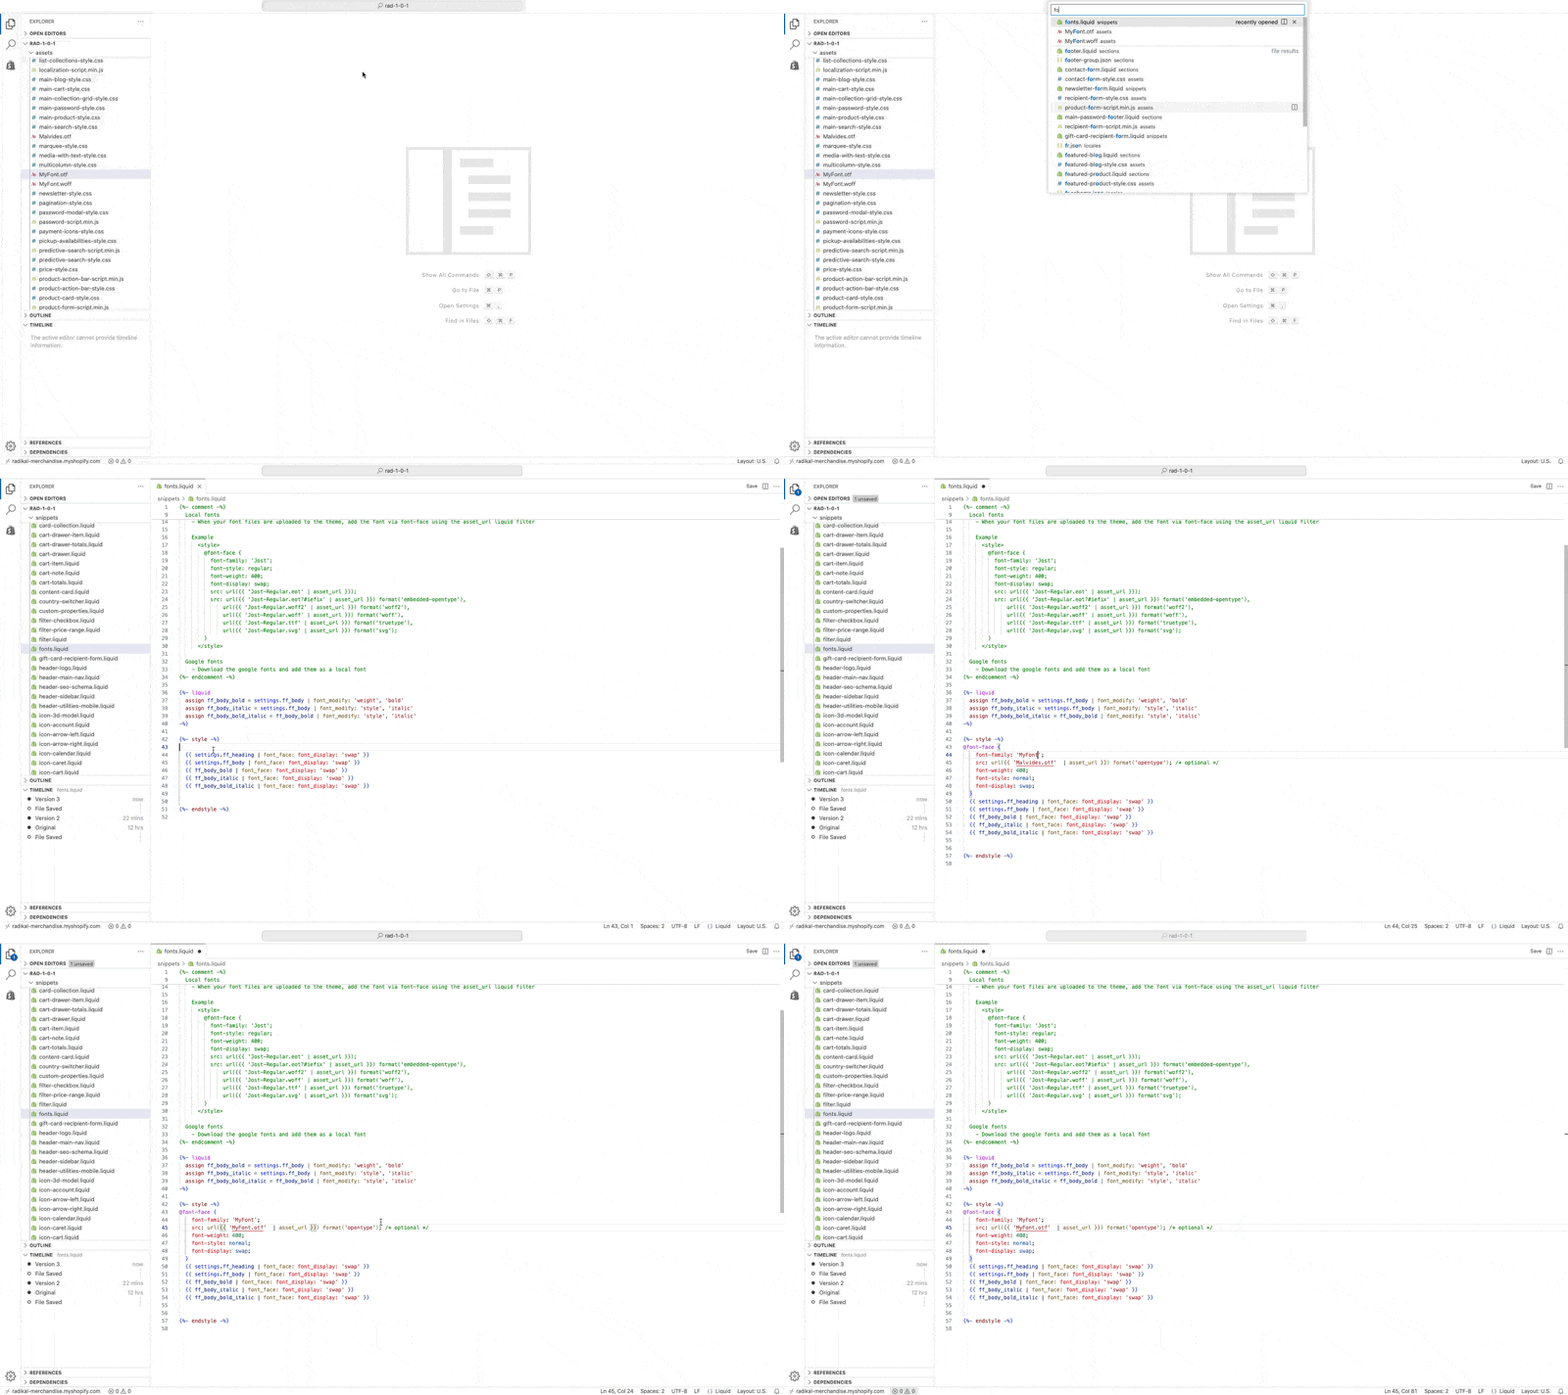
Step 3: Add the font to the fonts.liquid
At the top, search for fonts.liquid and open it.
Paste this snippet under {%- style -%} :
@font-face {
font-family: 'MyFont';
src: url({{ 'MyFont.woff' | asset_url }}) format('woff'),
url({{ 'Malvides.otf' | asset_url }}) format('opentype');
font-weight: 400;
font-style: normal;
font-display: swap;
}
Replace "MyFont" with the name of your font file.

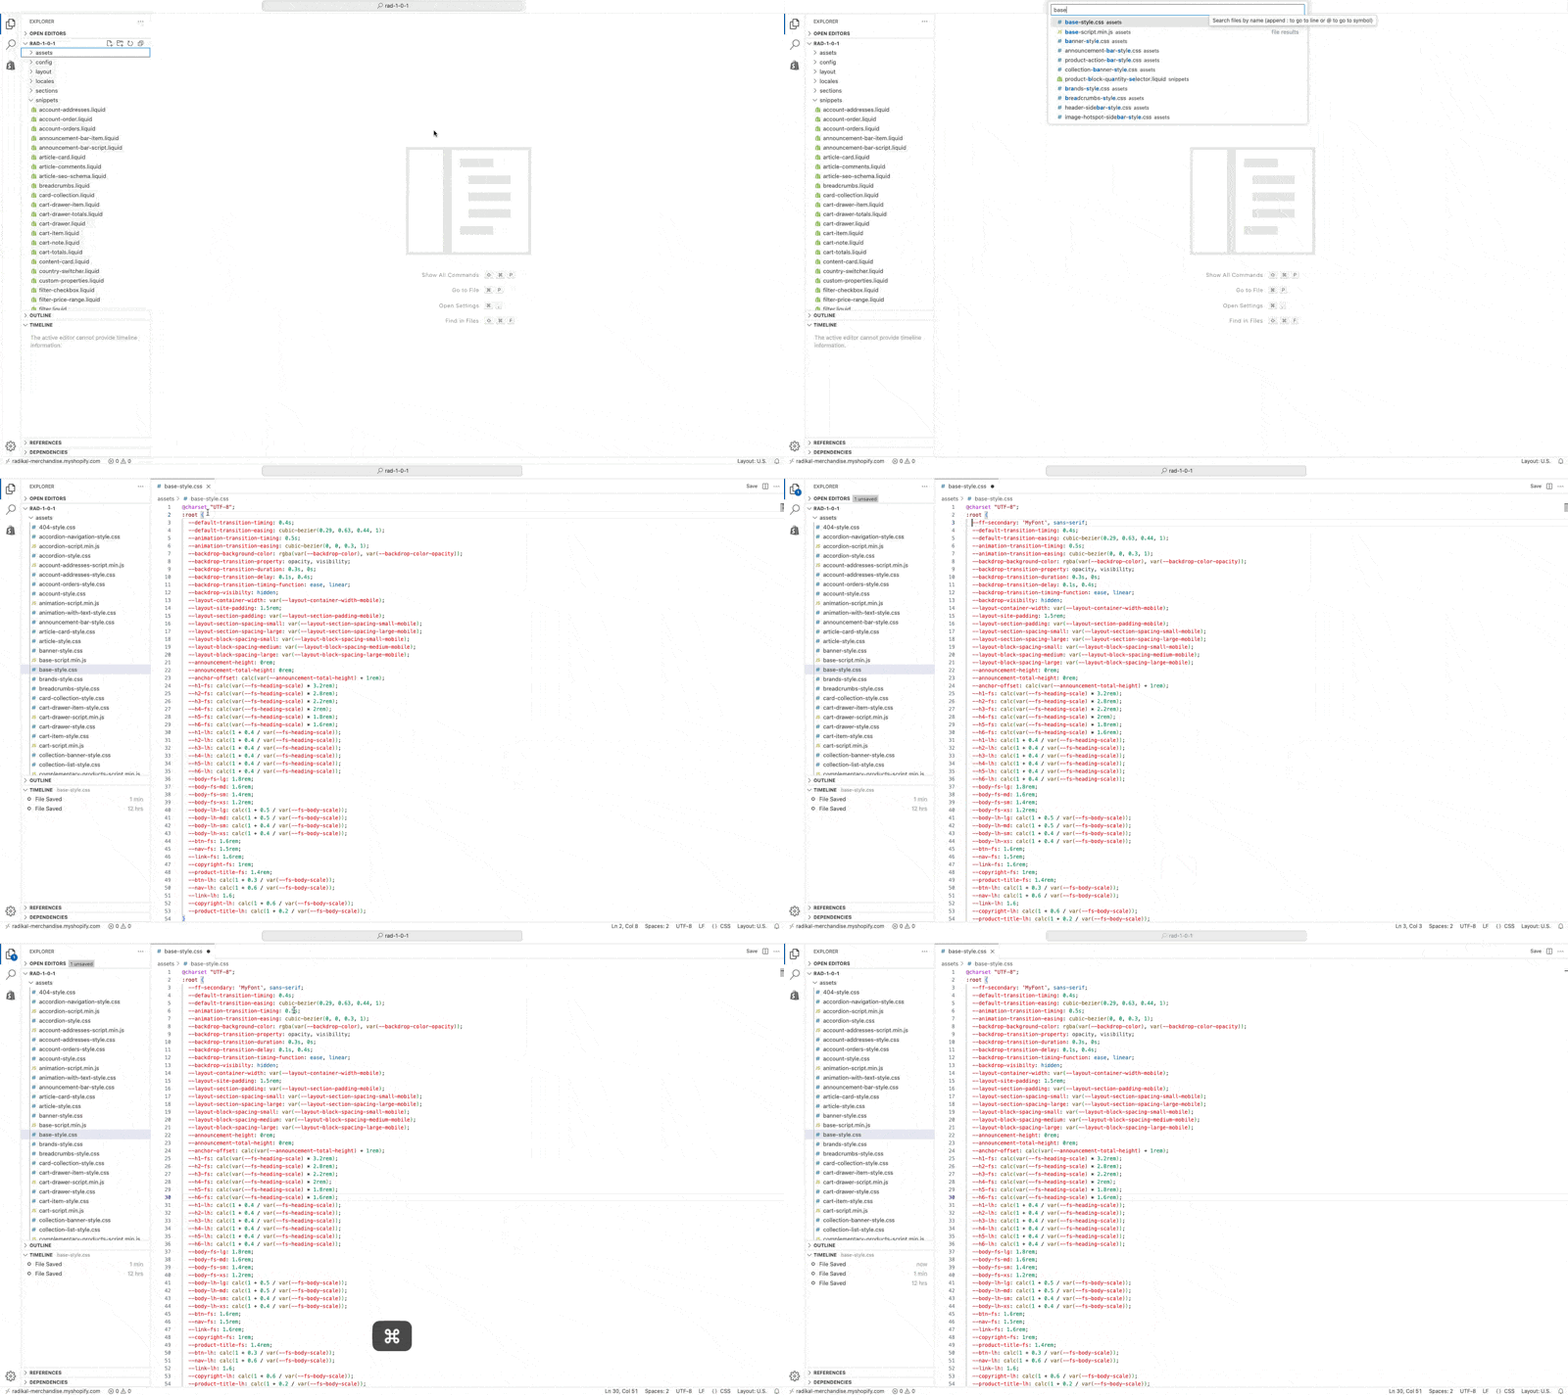
Step 4: Add the font to the css
Search at the top for base-style.css and open it.
Add this line just below :root { , and adjust the font name as used in step 3:
--ff-secondary: 'MyFont', sans-serif;

Save everything and enjoy your new font!